
Setting up a Kamatera cloud server is simple and fast. From account creation to a running server takes about 5 minutes. The dashboard is straightforward. The pricing calculator is transparent. The 60-second deployment is real — I timed it. This step-by-step guide walks you through every click, every field, and every decision. By the end, you will have a fully functional cloud server running your choice of operating system. Whether you are a developer deploying an app or a business owner setting up a website, this guide covers everything you need.
New to cloud servers? Do not worry. I will hold your hand through every step.
I have set up dozens of servers on Kamatera. The process is the same every time. Consistent, fast, and predictable.
Follow these steps and you will have a working cloud server in under 10 minutes.
Step 1: Sign Up for Your Kamatera Account
Go to Kamatera’s website and click the Start with the Kamatera free trial to test your setup button. You will need to provide:
- Email address — Use your real email. You will need to verify it.
- Password — Create a strong password for your account.
- Credit card — For identity verification. You will not be charged during the 30-day trial if you stay within the $100 credit limit.
- Basic details — Name, country, phone number.
Once you submit, check your email for the verification link. Click it and you are in.
Important: The credit card requirement makes people nervous. I get it. Here is the truth — Kamatera uses the card to verify your identity, not to bill you. Set a phone reminder for day 27 of your trial. If you want to cancel, log in, terminate your server, and no charges will apply. Simple.
Step 2: Open the Server Builder
After logging in, you land on the Kamatera dashboard. Look for the “Create Server” button. It is prominently placed. Click it.
The server builder opens. You will see two tabs at the top:
- Recommandé — Pre-built configurations (Basic, Standard, Pro)
- Customized — Build your server from scratch
For this guide, I recommend starting with Customized. This gives you full control over every component.
Step 3: Choose Your Server Name and Description
Give your server a name. Something descriptive like “my-web-server” or “production-app-01.” This helps you identify servers when you have multiple instances running.
The description is optional but useful. Add notes about what the server does or which project it belongs to.
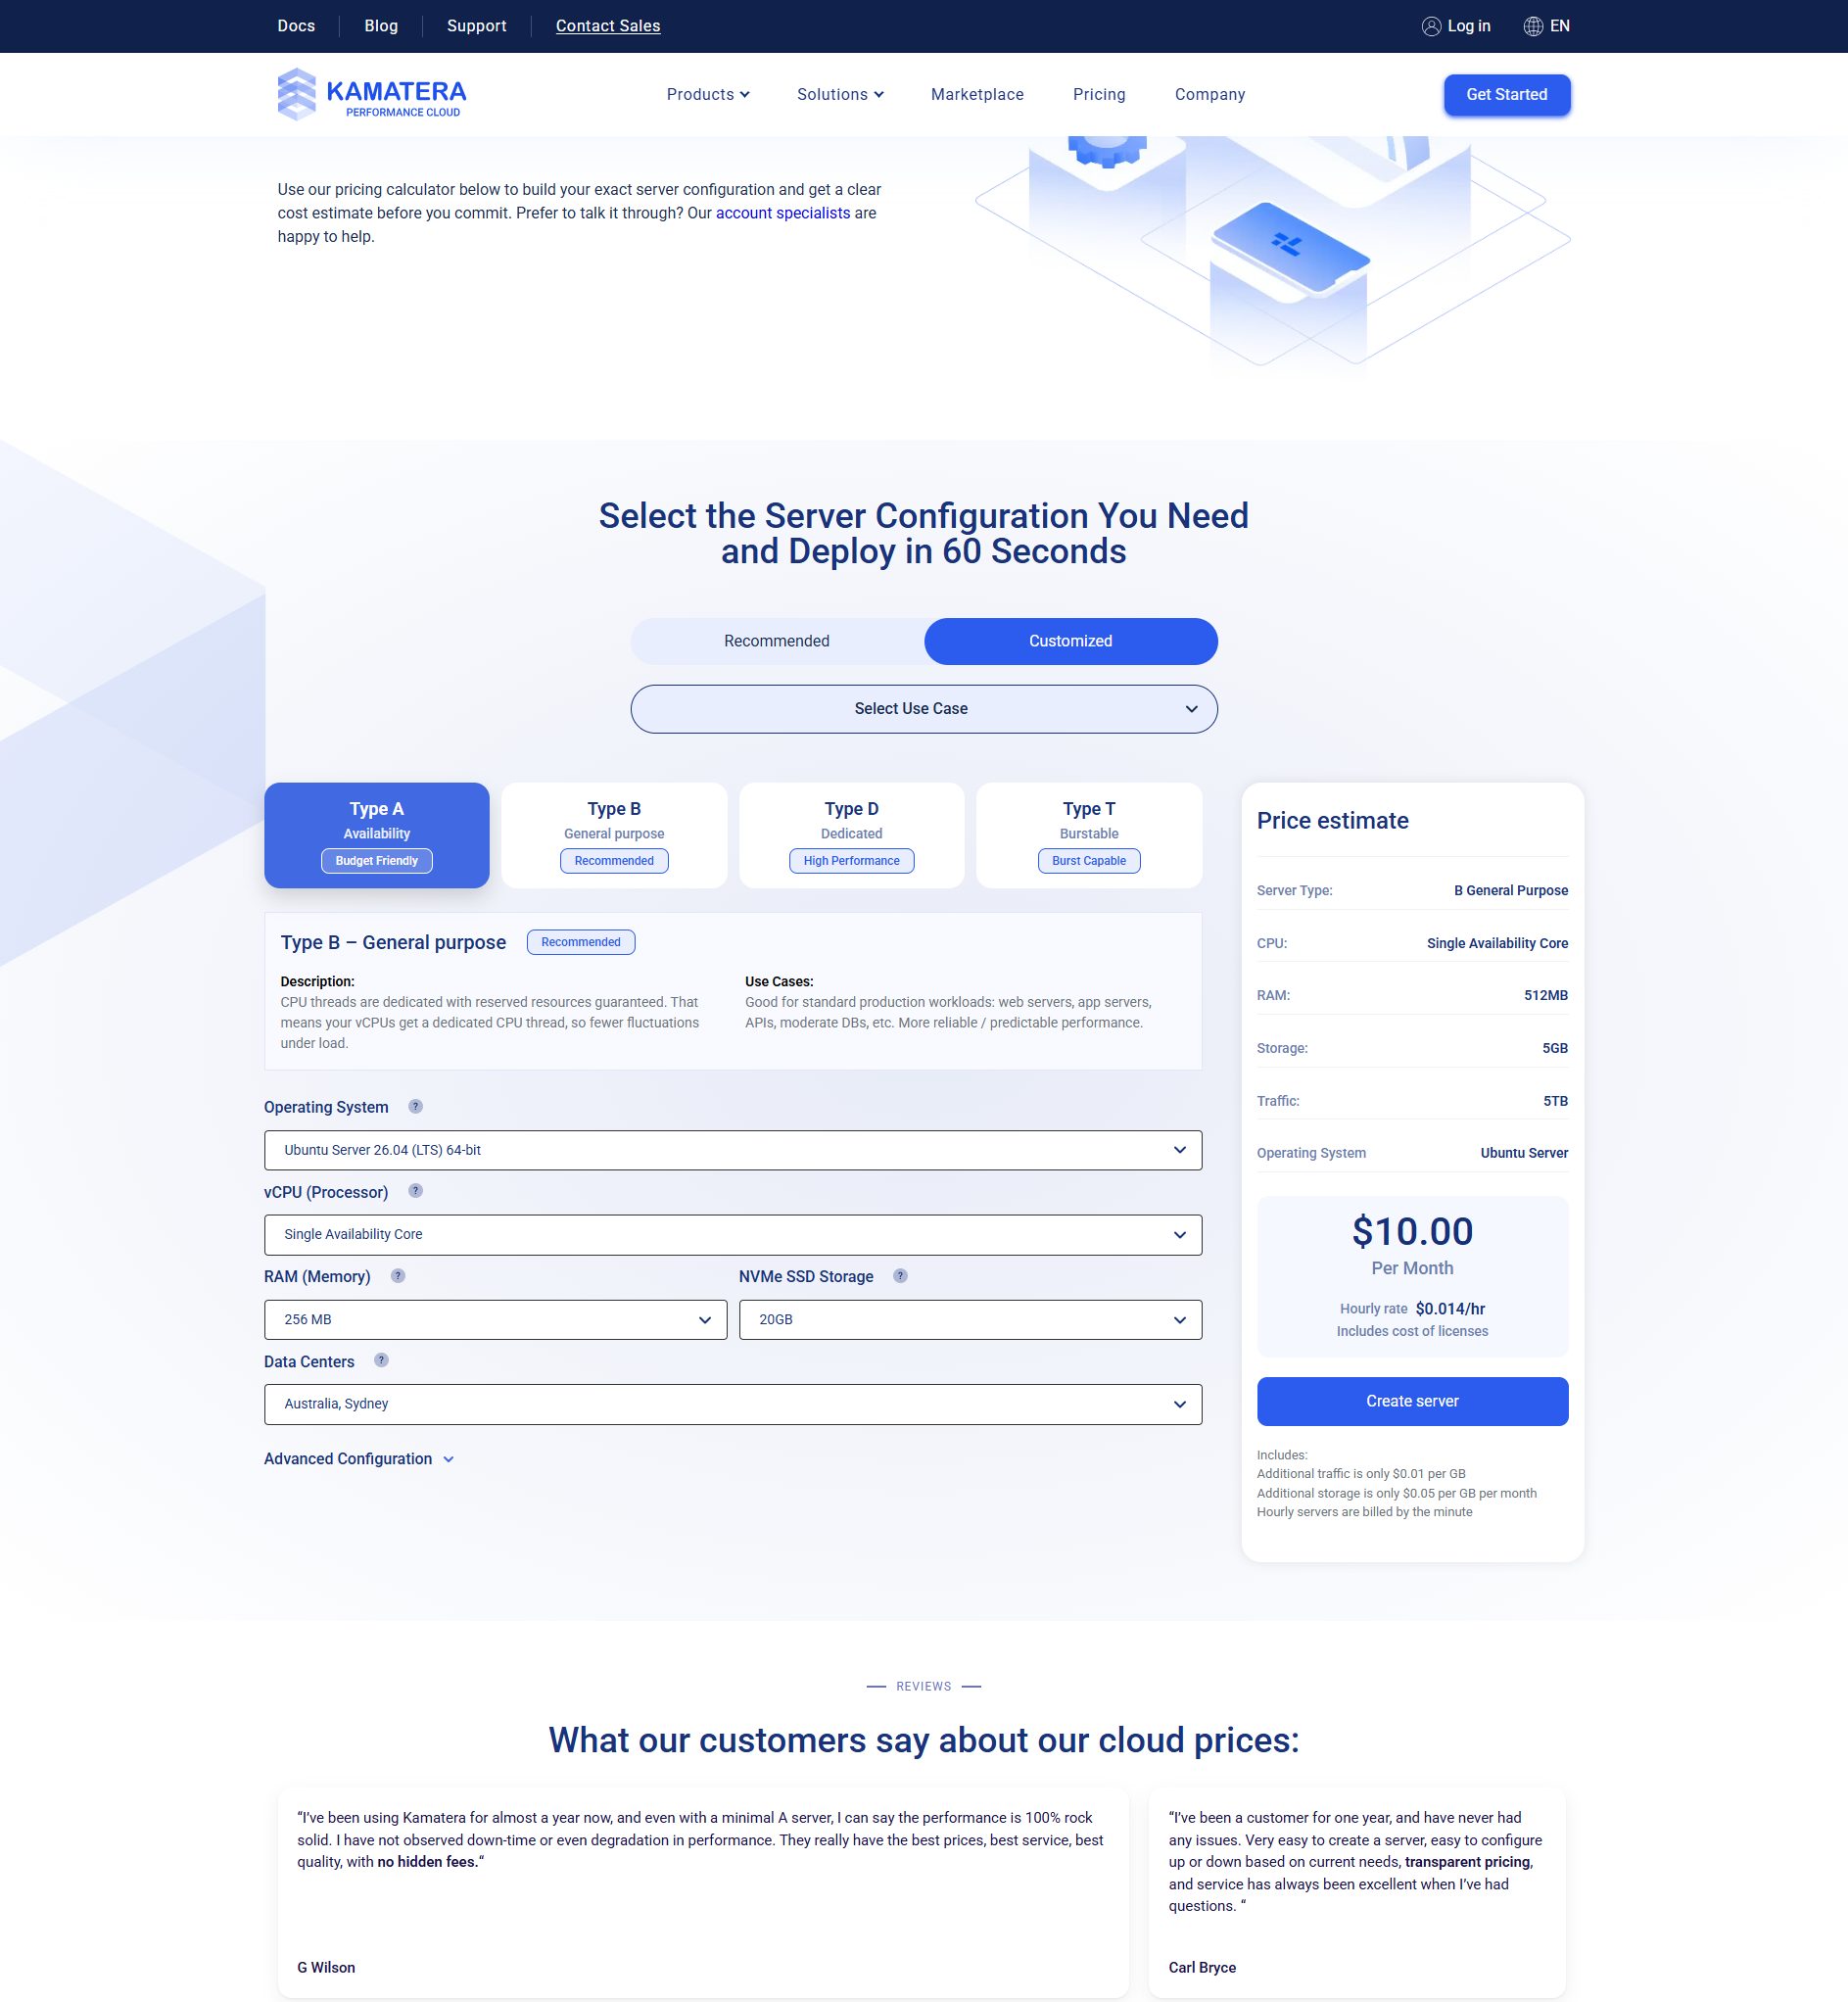
Step 4: Select Your CPU Configuration
This is the most important step. Choose your CPU type and vCPU count.
| Field | Options | Recommendation |
|---|---|---|
| CPU Type | Type A (Availability), Type B (General Purpose), Type D (Dedicated) | Type B for production |
| vCPUs | 1 to 32+ | Start with 2 for most use cases |
For a beginner setting up a website or web app, choose Type B with 2 vCPUs. That handles most workloads comfortably.
Step 5: Choose Your RAM
RAM options range from 1 GB to over 256 GB. More RAM means your server can handle more simultaneous tasks.
| Use Case | Recommended RAM |
|---|---|
| Simple website or blog | 1-2 GB |
| Business website with CMS | 2-4 GB |
| Web application | 4-8 GB |
| Database server | 4 GB+ |
Start with 2 GB or 4 GB. You can always add more later. Kamatera makes resizing easy.
Step 6: Select Your Storage
All Kamatera storage is NVMe SSD. This is fast storage — about 10x faster than traditional hard drives.
Choose the amount of storage you need. Start with 20-40 GB if you are setting up a basic server. You can add more storage later without downtime.
Kamatera offers cloud block storage that can be expanded on the fly. This is useful if you run out of space and need more immediately.
Step 7: Pick Your Operating System
Kamatera supports a wide range of operating systems. Pick the one you are most comfortable with.
| OS | Idéal pour | Coût |
|---|---|---|
| Ubuntu 22.04 / 24.04 LTS | Most users — great all-around choice | Gratuit |
| Debbian 12 | Stability-focused servers | Gratuit |
| CentOS / AlmaLinux | Enterprise environments | Gratuit |
| Windows Server 2022 | .NET apps, Windows-specific software | $15-25/mo extra |
| FreeBSD | Advanced networking and security | Gratuit |
If you are not sure, choose Ubuntu 24.04 LTS. It is the most popular Linux distribution for cloud servers. Tons of tutorials. Great community support.
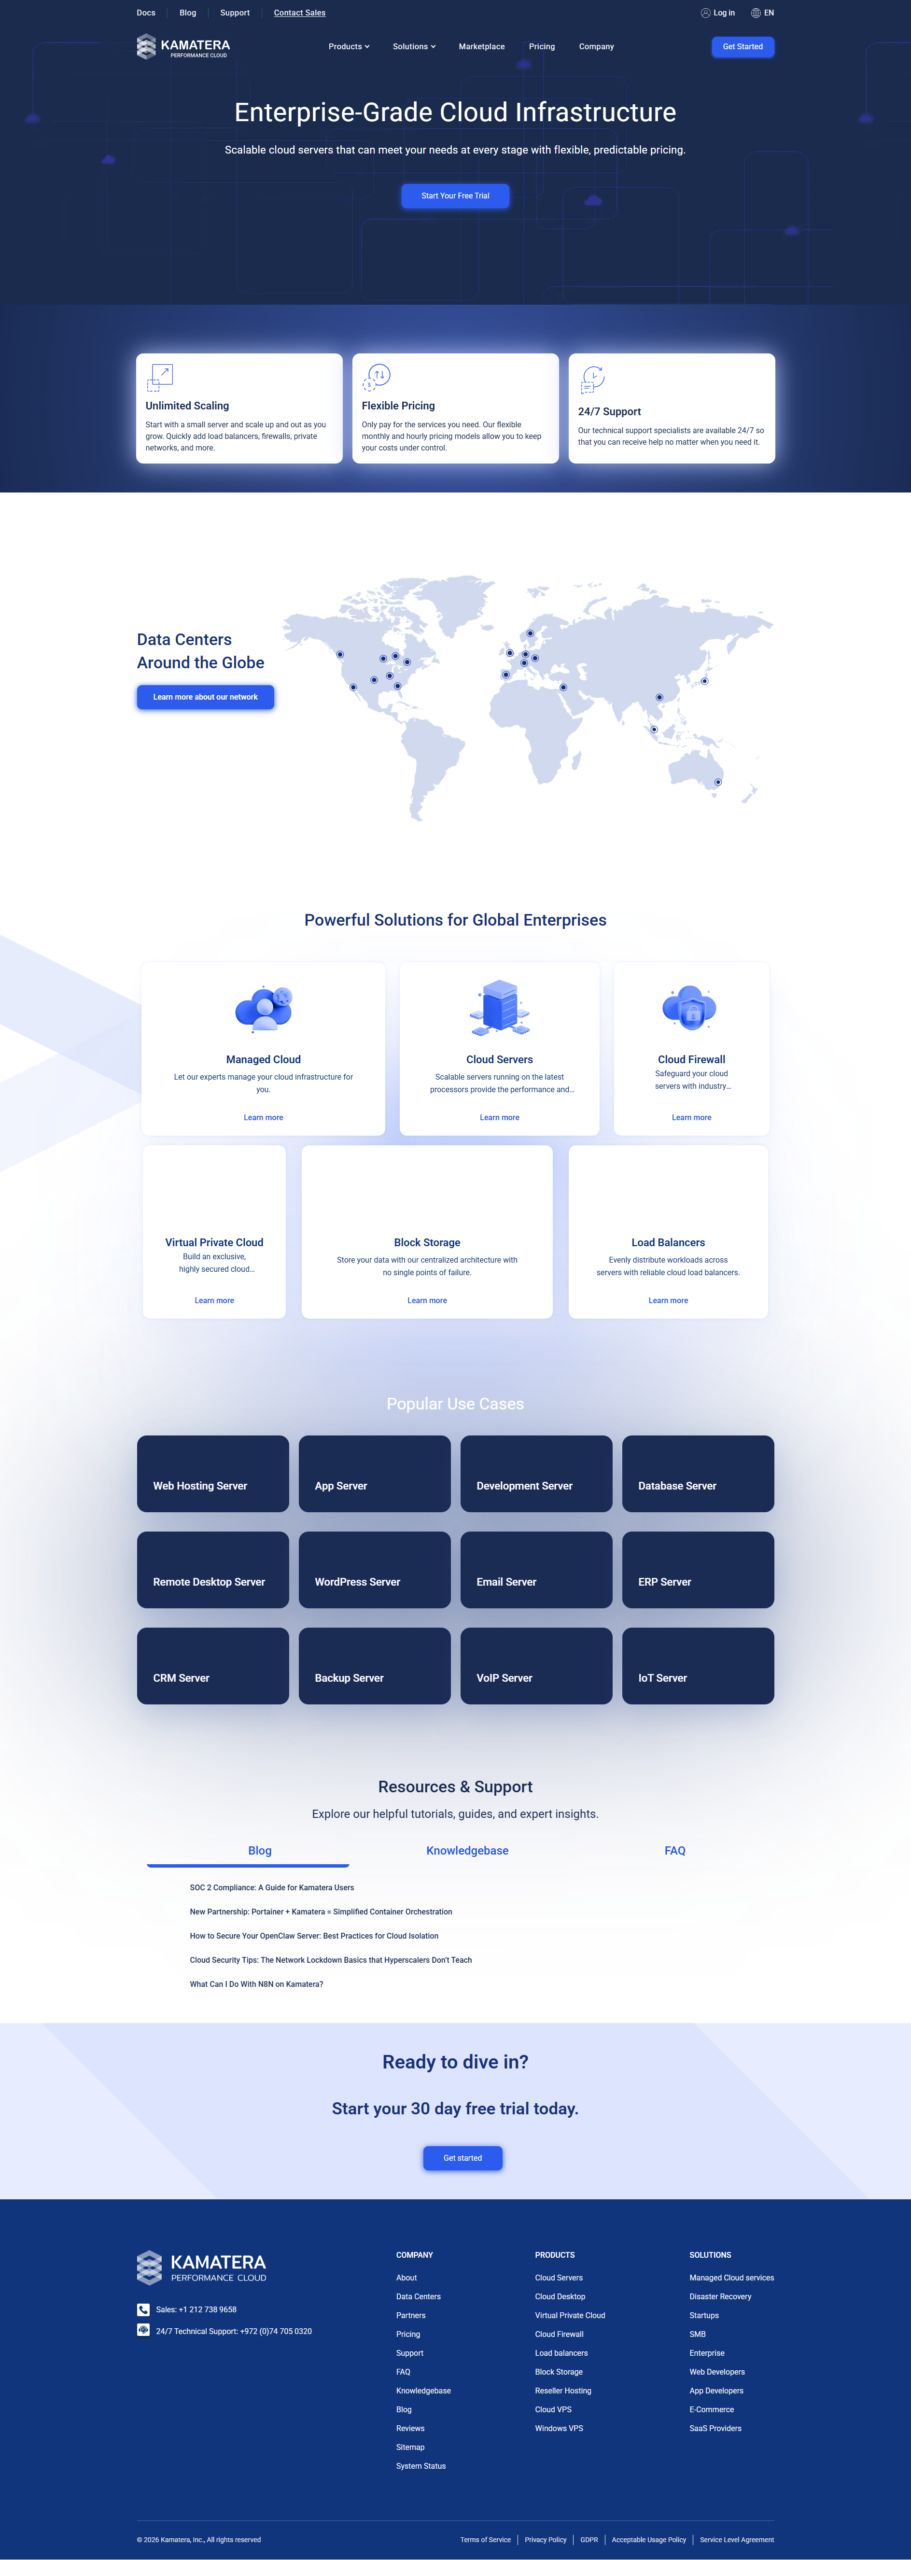
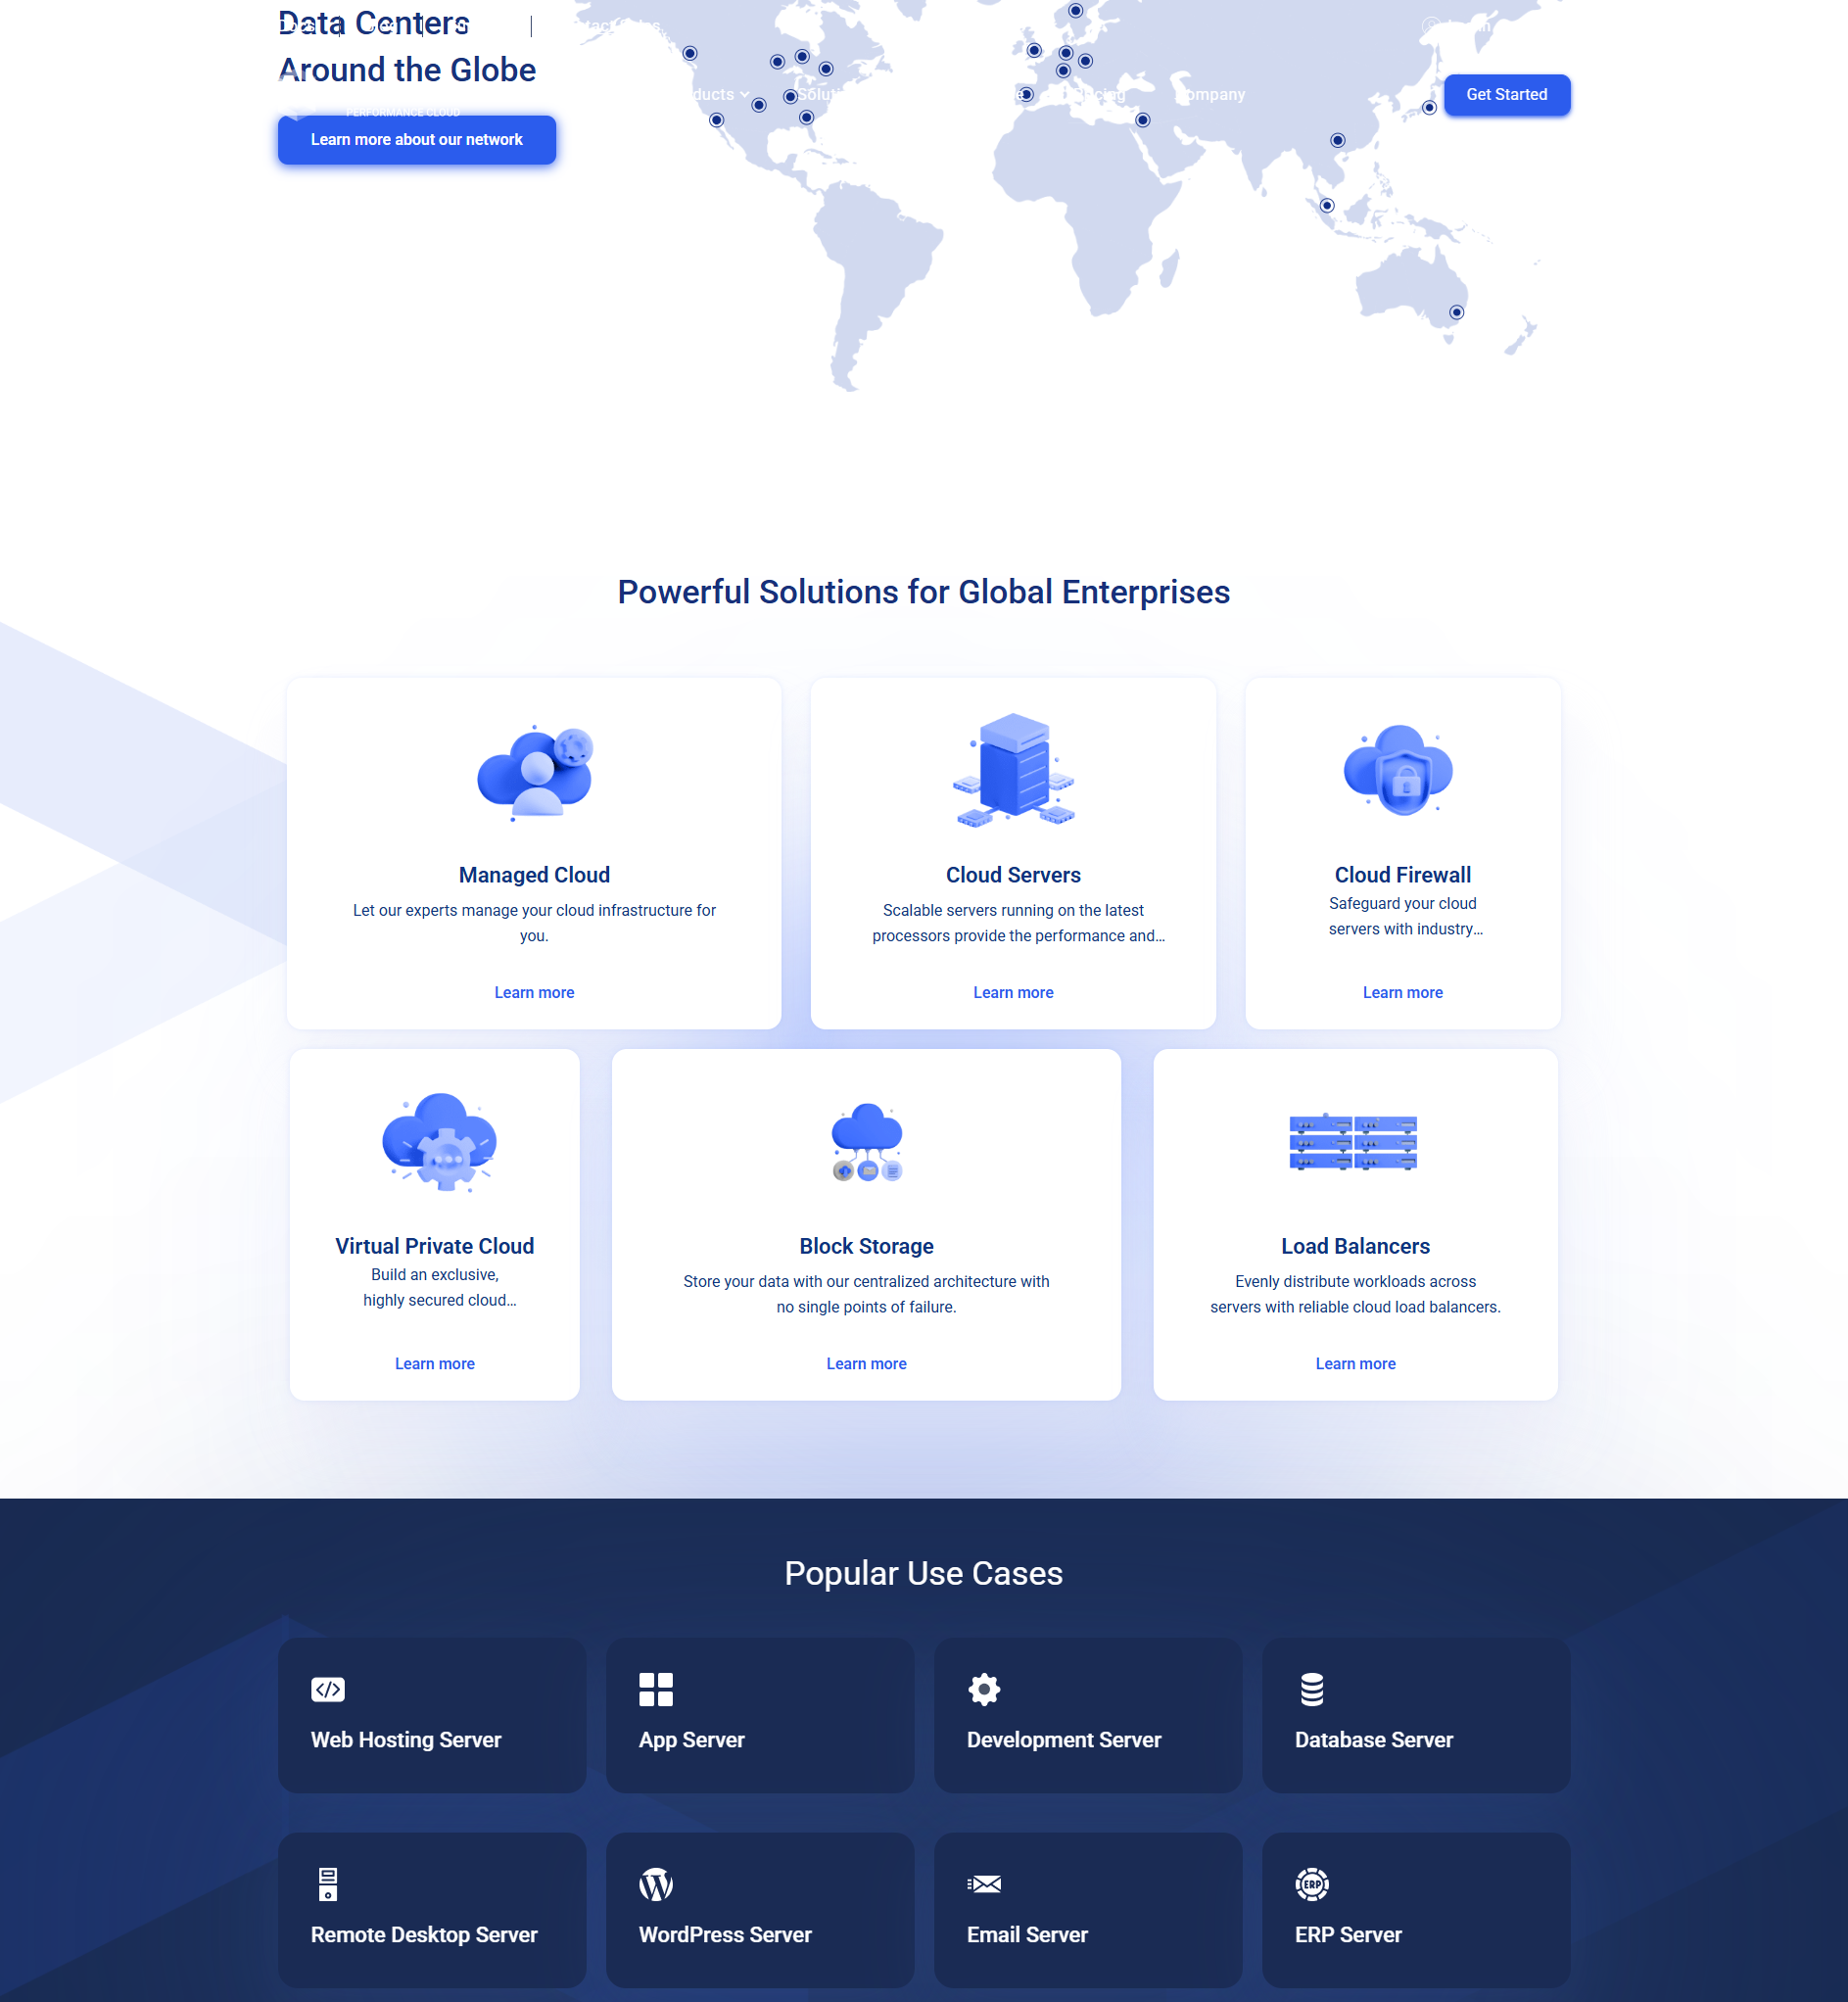
Step 8: Select a Data Center Location
Choose the data center closest to your target audience. This reduces latency and improves page load speeds.
Kamatera has 14 data centers worldwide:
- North America: New York, Dallas, Los Angeles, Chicago, Toronto, Montreal
- Europe: London, Amsterdam, Frankfurt, Stockholm
- Asia: Hong Kong, Singapore, Tel Aviv
If your audience is global, choose a central location like New York or Amsterdam.
Ready to set up your server?
Get $100 free credit for 30 days. Follow this guide to deploy your first cloud server in minutes — completely free, no risk.
Step 9: Configure Networking
Kamatera automatically assigns a public IP address to your server. You can also configure:
- Private network (VLAN) — For connecting multiple servers securely
- Firewall rules — Control which traffic can reach your server
- DNS settings — Optional custom DNS configuration
For a basic setup, the defaults work fine. You can always adjust networking later.
Step 10: Review and Deploy
Before deploying, review your configuration. Check:
- Server name
- CPU type and count
- RAM amount
- Storage size
- Operating system
- Data center
- Monthly cost (if you are not on the free trial)
If everything looks good, click “Create Server.” Kamatera deploys your server in about 60 seconds.
You will receive an email with your server’s IP address and root/admin password. Save these somewhere safe.
Step 11: Connect to Your Server
Now your server is running. Time to connect.
For Linux servers:
- Open a terminal on your computer
- Type:
ssh root@your-server-ip - Enter the root password from the email
- You are in! You now have full command-line access.
For Windows servers:
- Open Remote Desktop Connection on your computer
- Enter your server’s IP address
- Enter the administrator credentials from the email
- You are connected to your Windows server.
Security tip: After first login, change your root/admin password immediately. Also consider setting up SSH key authentication for more secure access. This prevents brute-force password attacks.
Post-Setup Checklist
Once your server is running, do these essential tasks.
- Update your system — Run
apt update && apt upgrade -yon Ubuntu/Debian. This installs the latest security patches. - Set up a firewall — Use UFW (Ubuntu) or firewalld (CentOS) to allow only necessary ports (22 for SSH, 80 for HTTP, 443 for HTTPS).
- Install a web server — Nginx or Apache. Most websites and apps need one.
- Install SSL — Use Certbot to get free SSL certificates from Let’s Encrypt.
- Set up monitoring — Basic monitoring tools like htop, netstat, and fail2ban.
- Configure automatic updates — Unattended-upgrades on Ubuntu keep your server patched automatically.
Common Server Configurations
Here are typical setups for common use cases.
| Use Case | Config | OS | Software |
|---|---|---|---|
| Personal blog | 1 vCPU / 1 GB / 20 GB | Ubuntu 24.04 | WordPress + Nginx |
| Business website | 2 vCPU / 2 GB / 30 GB | Ubuntu 24.04 | WordPress + Nginx + SSL |
| Web application | 2 vCPU / 4 GB / 40 GB | Ubuntu 24.04 | Node.js + Nginx + MongoDB |
| E-commerce store | 2 vCPU / 4 GB / 50 GB | Ubuntu 24.04 | WooCommerce + Nginx + Redis |
| Development server | 1 vCPU / 2 GB / 30 GB | Ubuntu 24.04 | Docker + GitLab Runner |
Troubleshooting Common Issues
| Issue | Solution |
|---|---|
| Cannot connect via SSH | Check that port 22 is open in the firewall. Verify the IP address. Make sure the server is running. |
| Server is slow | Check CPU and RAM usage with top ou htop. Consider upgrading if usage is consistently high. |
| Website not loading | Check that ports 80 and 443 are open. Verify Nginx/Apache is running. Check DNS settings. |
| Out of disk space | Add more storage through the Kamatera dashboard. No reboot required with cloud block storage. |
Step-by-Step Setup FAQ
How long does it take to set up a Kamatera server?
Can I change my server configuration after setup?
Do I need to know Linux to use Kamatera?
How do I install WordPress on my Kamatera server?
What if I have trouble during setup?
🔗
Related reading:
Réflexions finales
Related reading:
Setting up a Kamatera cloud server is straightforward. The process is designed to get you from zero to running in minutes, not hours. The pricing calculator shows exact costs upfront. The deployment is fast. The support team is available if you need help.
The free trial with $100 credit means you can experiment without risk. Try different configurations. Test different operating systems. Learn at your own pace.
Once you set up your first server, everything else gets easier. You will be deploying new servers in your sleep.
Set up your first cloud server free
Get $100 free credit for 30 days. Follow this guide and have your server running in minutes. No risk. No commitment. Just real cloud infrastructure to experiment with.
- SEOmoz vs SEMrush: Best for Beginners? (2026) - juin 15, 2026
- Moz vs SEMrush vs Ahrefs: 2026 Showdown ⚔️ - juin 15, 2026
- Moz vs Ahrefs: Honest 2026 Comparison ⚔️ - juin 15, 2026